
In the previous article we created and configured a Azure service bus and queue ready to be used by Dynamics Online.
This article will detail the process to create the Azure aware plugin in Dynamics Online.
Step 1 – Create the Azure Service Endpoint plugin in Dynamics.
To get started we need to download the latest SDK for Microsoft Dynamics: 2016 version is available Here
Once downloaded extract and navigate to the following location:
<Extract Path>\SDK\Tools\PluginRegistration
Next load the PluginRegistrastion.exe, this program, as you have probably guessed allows you to register plugins against your various instances.
Once loaded select ![]()
Enter your Dynamics Online details and click “Login”
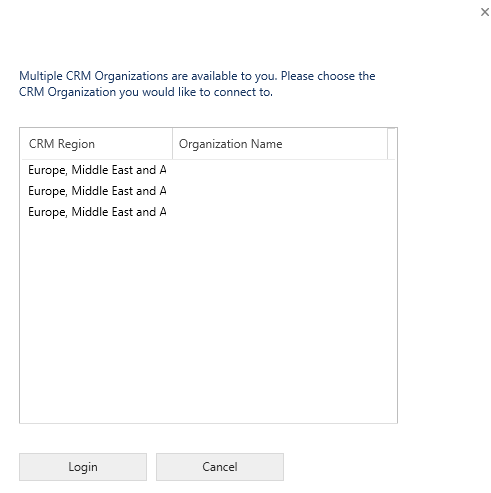
If your account is associated with multiple instances of Dynamics you will be asked to select the specific instance.
Once connected to your instance, you will be presented with a number of plugins which are already configured.
Select Register > Register New Service Endpoint
Here we are setting up the location and settings for your Azure Service Bus and Queue.
Enter the following information:
| Field | Description | Value |
| Name | The name which will be displayed in Dynamics Online | Meaningful name such as GDWUK.Azure.ServiceBus.TestQueue01 |
| Description | Optional Description | Optional |
| Solution Namespace | Your Azure Service Bus | test-bus-01 |
| Path | Your Queue | test-queue-01 |
| Contract | The listener, we are using a queue but additional contracts are supported. | PersistentQueue |
| Claim | Supplementary user information to be passed to the service bus queue. | (Optional) UserId |
| Federated Mode | Federated authentication | Off |
Click Save and Configure ACS
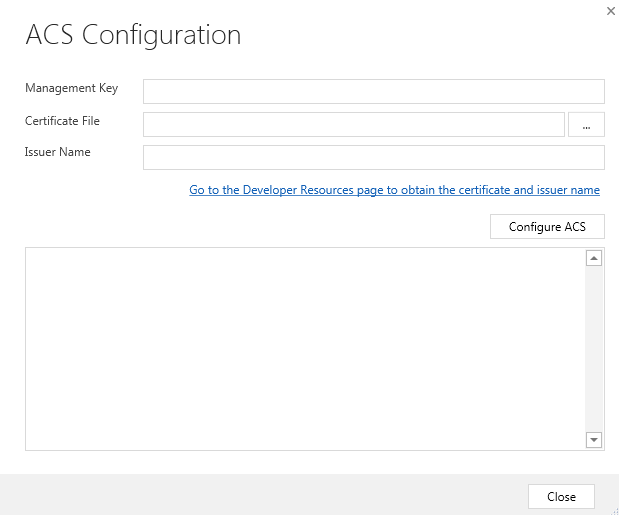
Fill out the requested information where
Management key: Go to: https://manage.windowsazure.com/ find your Service Bus and click the connection information button at the bottom of the dashboard

The key is found in the “DEFAULT KEY” field.

For the certificate file and issuer:
Launch your Dynamics instance and navigate to customization (under the “Settings” area).
Select “Developer Resources” from the customization options

The information can be found in the “Connect this instance of Dynamics CRM to Azure Service Bus” section.

Click Configure ACS and the plugin tool will quickly configure the environment. Click Close then Save & Verify Authentication, followed by Save.
Step 2 – Create the Step
Setting up a step creates the trigger and the information to be captured.
Select your new ServiceEndpoint.
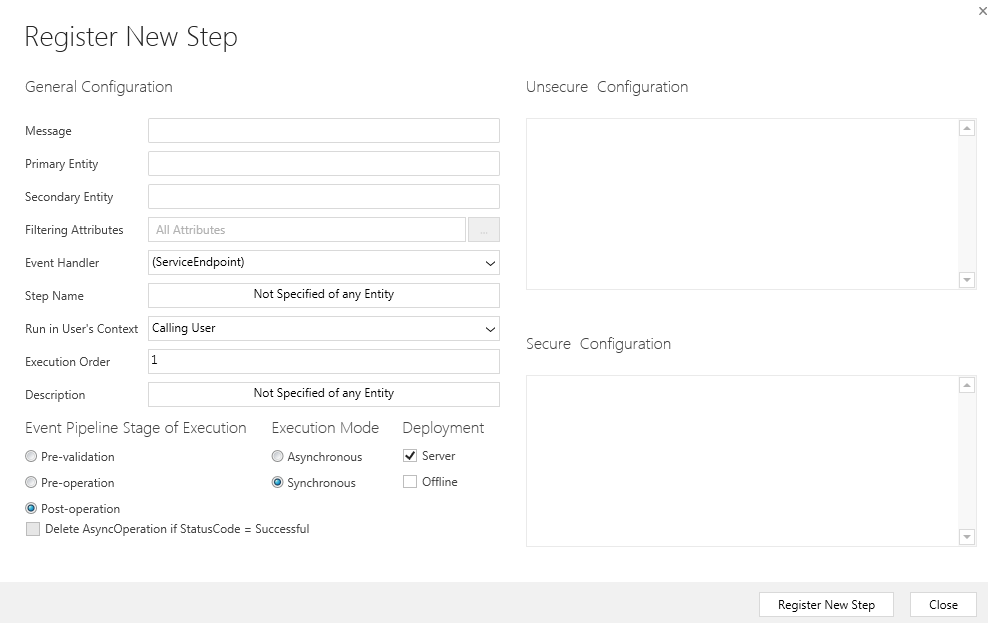
Right click and select Register New Step
| Field | Description | Value |
| Message | This is the trigger for the step. For this article this will be set to Update as we want to capture changes made on the update of the entity. | Update |
| Primary Entity | The entity to track | contact |
| Secondary Entity | Incase one entity isn’t enough! | |
| Filtering Attributes | The fields you want to track changes on. | All Attributes |
| Event Handler | The plugin which handles this step. | Default |
| Step Name | A name which describes this step. | Default |
| Run in User’s Context | We can specify a user to run the step as. | Calling User |
| Execution Order | Used to priorities Steps if you have multiple | 1 |
| Description | Description of the step. | Default |
| Event Pipeline Stage of Execution | At what point in the update do we want the plugin to fire, Options:
Pre-Validation: Before save validation. Pre-Operation: Before the save operation. Post-Operation: After the save operation. |
Post-operation |
| Execution Mode | Who do you want the plugin to fire.
Asynchronous: The plugin will not fire inline with other dynamics processes. Synchronous: The plugin will fire inline with other dynamics processes. |
Asynchronous |
Click Update Step.
Congratulations you now have an azure aware plugin. To test your new configuration load up a contact record in CRM and alter some information.
I changed an email address of a contact to email@testbus.com.
In Dynamics Online Navigate to Settings > System Jobs.
You should see a message with a Status Reason of Succeeded, if the status is failed then you can double click the record to get more information.
Note: only asynchronous jobs appear here, if your job doesn’t appear check your configuration.

Now go to https://manage.windowsazure.com/
Navigate to your queue. The queue length should be 1 (your change).
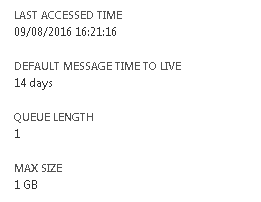
That’s it! You’re all ready to go!
In the next couple of articles we will discuss a few ways to process messages in the Azure service bus queue:
Consuming Azure Service Bus Queue and dealing with Remote Execution Context