
The first step in the process is to create the Azure service bus for Dynamics to consume, Dynamics requires that this service bus is configured for Access Connection String (ACS) authentication. Unfortunately the default settings when setting up a service bus in the azure portal does not configure ACS for you, we need to create the service bus with command line or powershell.
Creating an Azure Service Bus
I will demonstrate using the Azure CLI (Command Line Interface). Firstly grab the CLI from https://azure.microsoft.com/en-gb/documentation/articles/xplat-cli-install/.
Once installed, load cmd and type azure to get an overview of the capability.
Let’s login to our environment:

Follow the link to complete the login and type the code
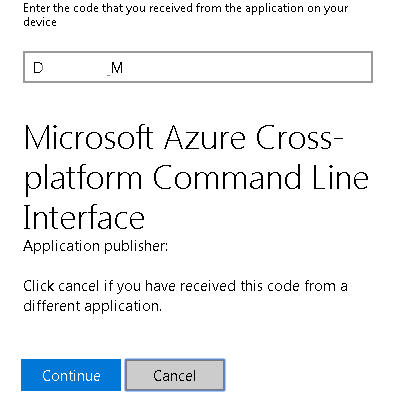
We’re now logged in!

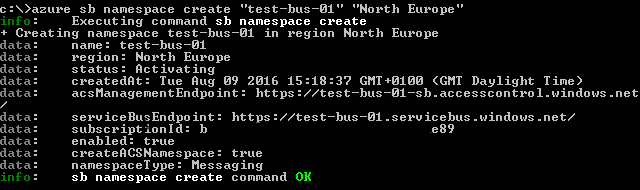
Let’s create our service bus:
Use the command:
azure sb namespace create “ServiceBusName” “Region”
Note: ServiceBusName must be a completely unique name
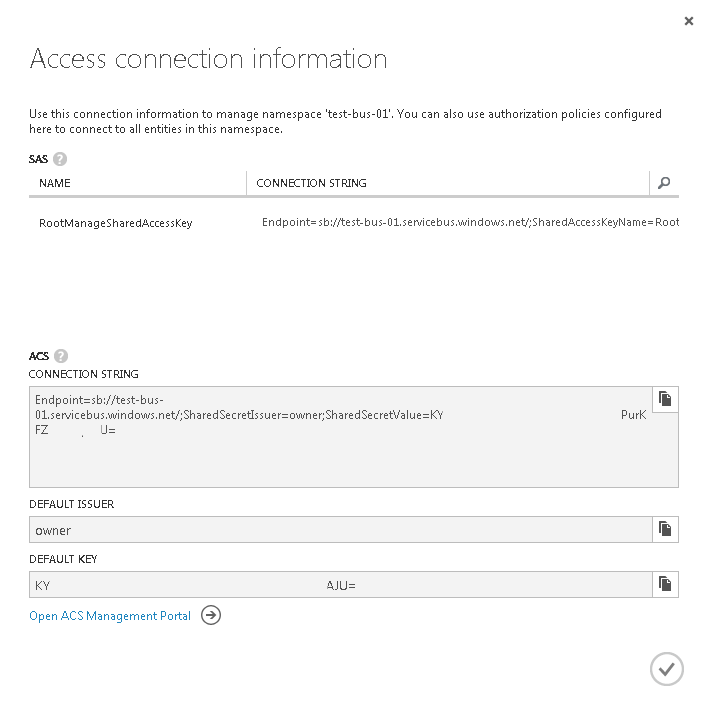
Ok that’s it! Log into your azure portal and check you ACS Settings via https://manage.windowsazure.com/
Configure a Queue
We now need to configure a queue which Dynamics Online can communicate the entity changes to.
On the Azure portal, find your newly created service bus and navigate to the queues sections.
The next step is to click “Create a new queue”, like you hadn’t guessed.
Give your queue a name and region
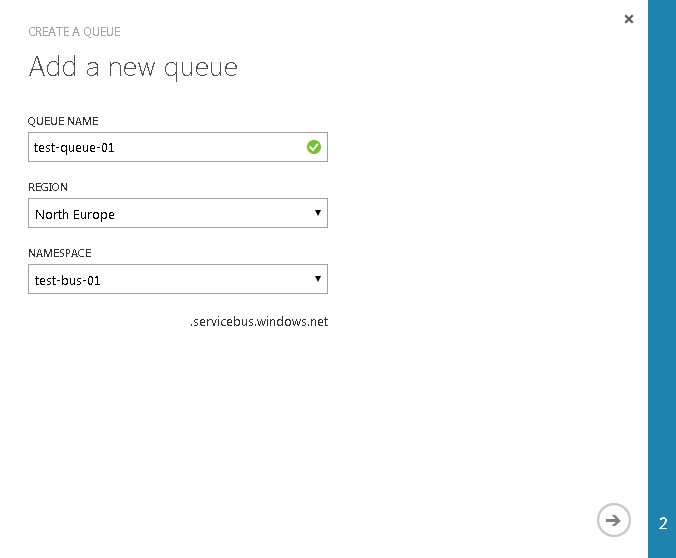
Configure your queue
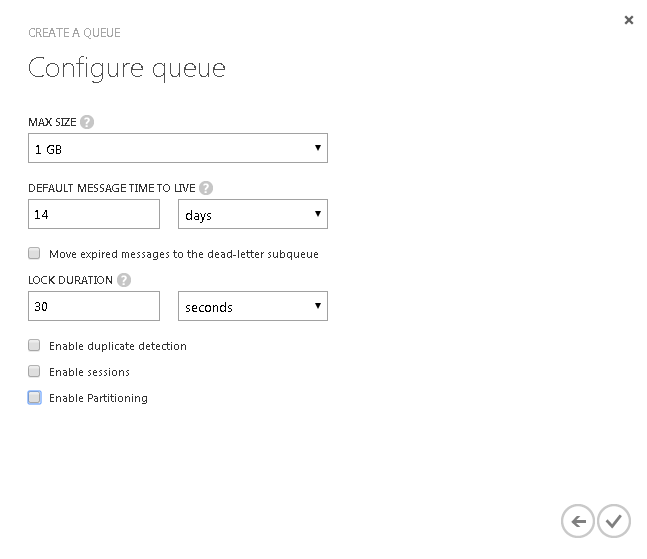
Important: Make sure you uncheck “Enable Partitioning” as its not supported.
That’s it, we’re done. Keep azure open as we need some information when we configure Dynamics Online in the next post.
Pingback: Creating a Dynamics CRM Azure aware plugin – GDW UK – Software Development & Consultancy